

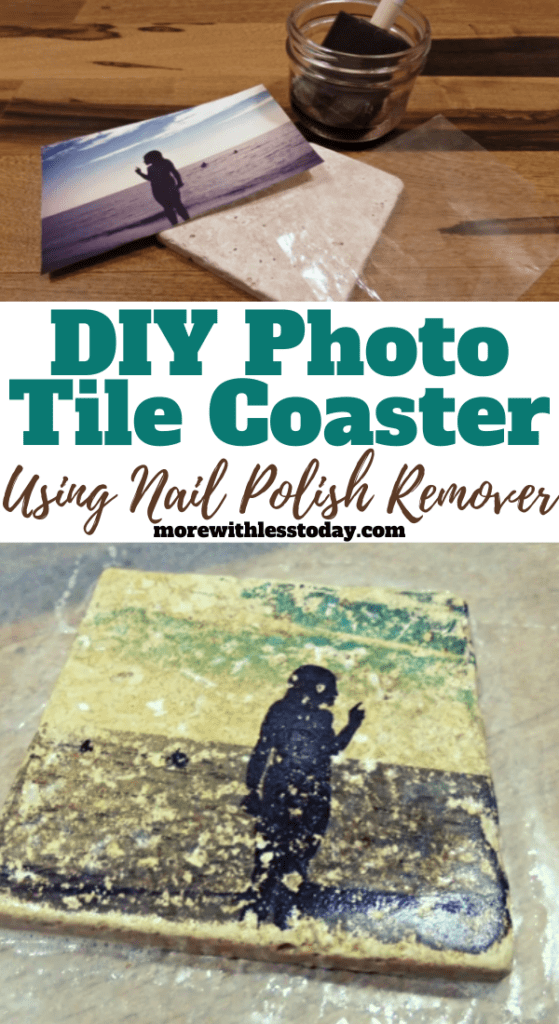
How To Transfer Photos To Wood With Nail Polish Remover
Here is a special fashion to enjoy your favorite photos. Yous can make photo transfers using nail smoothen remover and make photo tiles. These are inexpensive to make using only a few supplies.
Follow the easy steps and make a set for yourself and some for gifts. If yous are like me, most of your photos are on your smartphone. This is a way to enjoy those memories with a set up of photo tile coasters.
You lot can use your holiday photos to make gifts to give for all holidays including Christmas, Mother's Day, Father's Day, graduation, weddings, birthdays, holidays or special occasions.Be sure and share your finished projection with us!
Nosotros accept affiliate relationships which means we may earn a small referral committee at no additional cost to you if you shop using our links. As an Amazon Associate, I earn from qualifying purchases.
Photo Coasters Made With Tiles and Nail Polish Remover
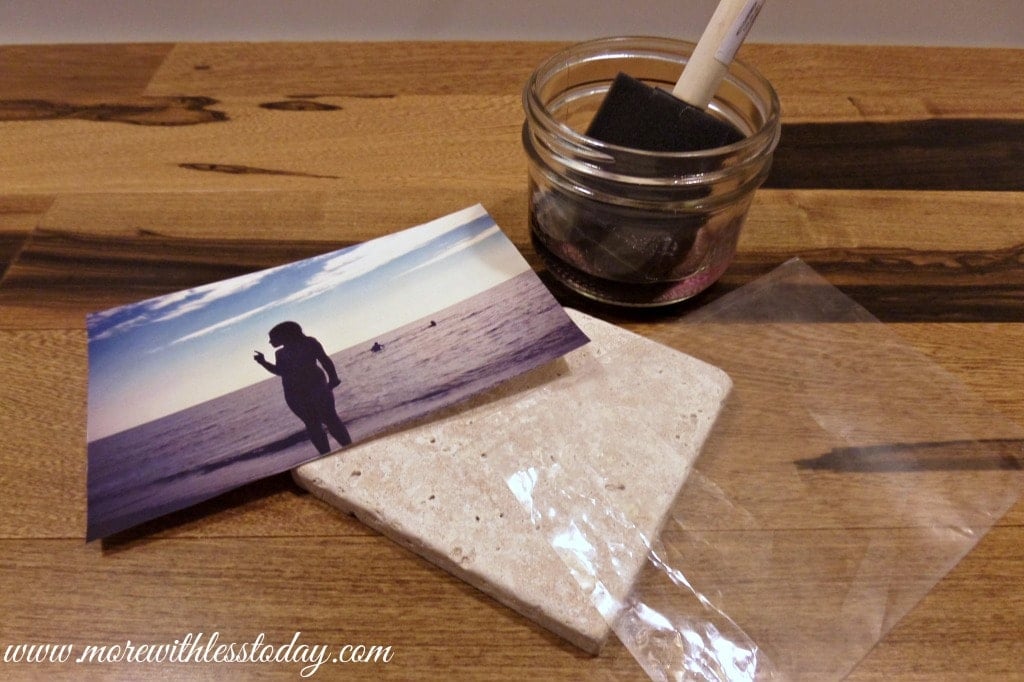
Supplies:
- 4″x4″ stone tiles – I found that they need to be stone vs. ceramic for the photo transfer to work. Here are rock tiles from Home Depot
- inexpensive nail smoothen remover – information technology should incorporate acetone but not exist pure acetone
- paper copies of your favorite photos – the darker the image, the better the transfer
- 1 sheet of acetate – here is a link to acetate sheets on Amazon.com
- a knife or boning tool to apply for applying force per unit area equally you transfer the photo
- tile sealer – I used foam brushes
Notation: The paper copies demand to exist made on a copy machine or printer that uses TONER not ink. This volition not piece of work properly with ink or laserjet printers. Most local function stores or local printing companies utilise toner. Because the paradigm will be transferred confront down, consider reversing the prototype earlier printing it then words and such face the right direction on the finished tile.
I nstructions:
Begin by cutting your photo to the same size as the tile you lot are using. Information technology tin exist slightly larger as the excess paper will rub off.
Turn your photo face up down on top of the tile.
Use the foam brush to apply a generous amount of boom polish remover to the dorsum of the photograph
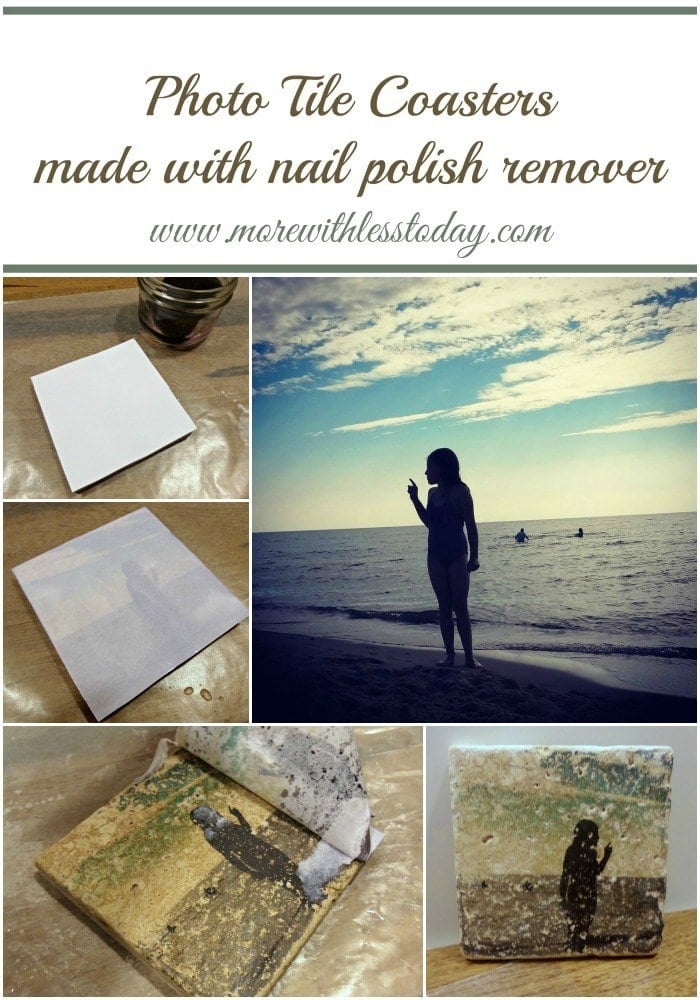
Cover the photo and tile with the canvas of acetate and use the pocketknife of boning tool to rub across the acetate. The acetate protects the photo while you rub and apply pressure. Information technology takes time, elbow grease, and patience. Only, it is and then worth information technology in the terminate! Proceed rubbing the acetate with the knife. Elevator the acetate off and use more than blast polish remover. Supervene upon the acetate and go along rubbing.
After a few applications of smash polish remover and rubbing, carefully lift the corner of the photo newspaper to see if the ink is transferring. If information technology has non completely transferred, repeat the above procedure.
In one case the image has transferred to the tile, remove the paper, and utilize your fingers to rub whatever stuck on paper off.
Rinse the tile off and let information technology dry out.
In the paradigm below you can see the original photo I used for the tile. I did several tiles using different photos only the photos with darker and more contrasting colors turned out the best.
To finish the tile, use a coat or two of tile sealer over the image.

When the sealer has dried, stack the set of photo coasters together and tie a piece of ribbon or twine around them. They will make a beautiful and meaningful gift!

PIN It Now and Salvage Information technology for Later!
Are you on Pinterest? Follow More With Less Today on Pinterest for more ideas.
Reader Interactions
Source: https://www.morewithlesstoday.com/photo-transfers-using-nail-polish-remover-make-photo-tiles/
0 Response to "How To Transfer Photos To Wood With Nail Polish Remover"
Post a Comment